Print Queue
Queue and schedule prints with drag-and-drop ordering, timed starts, and smart plug automation.
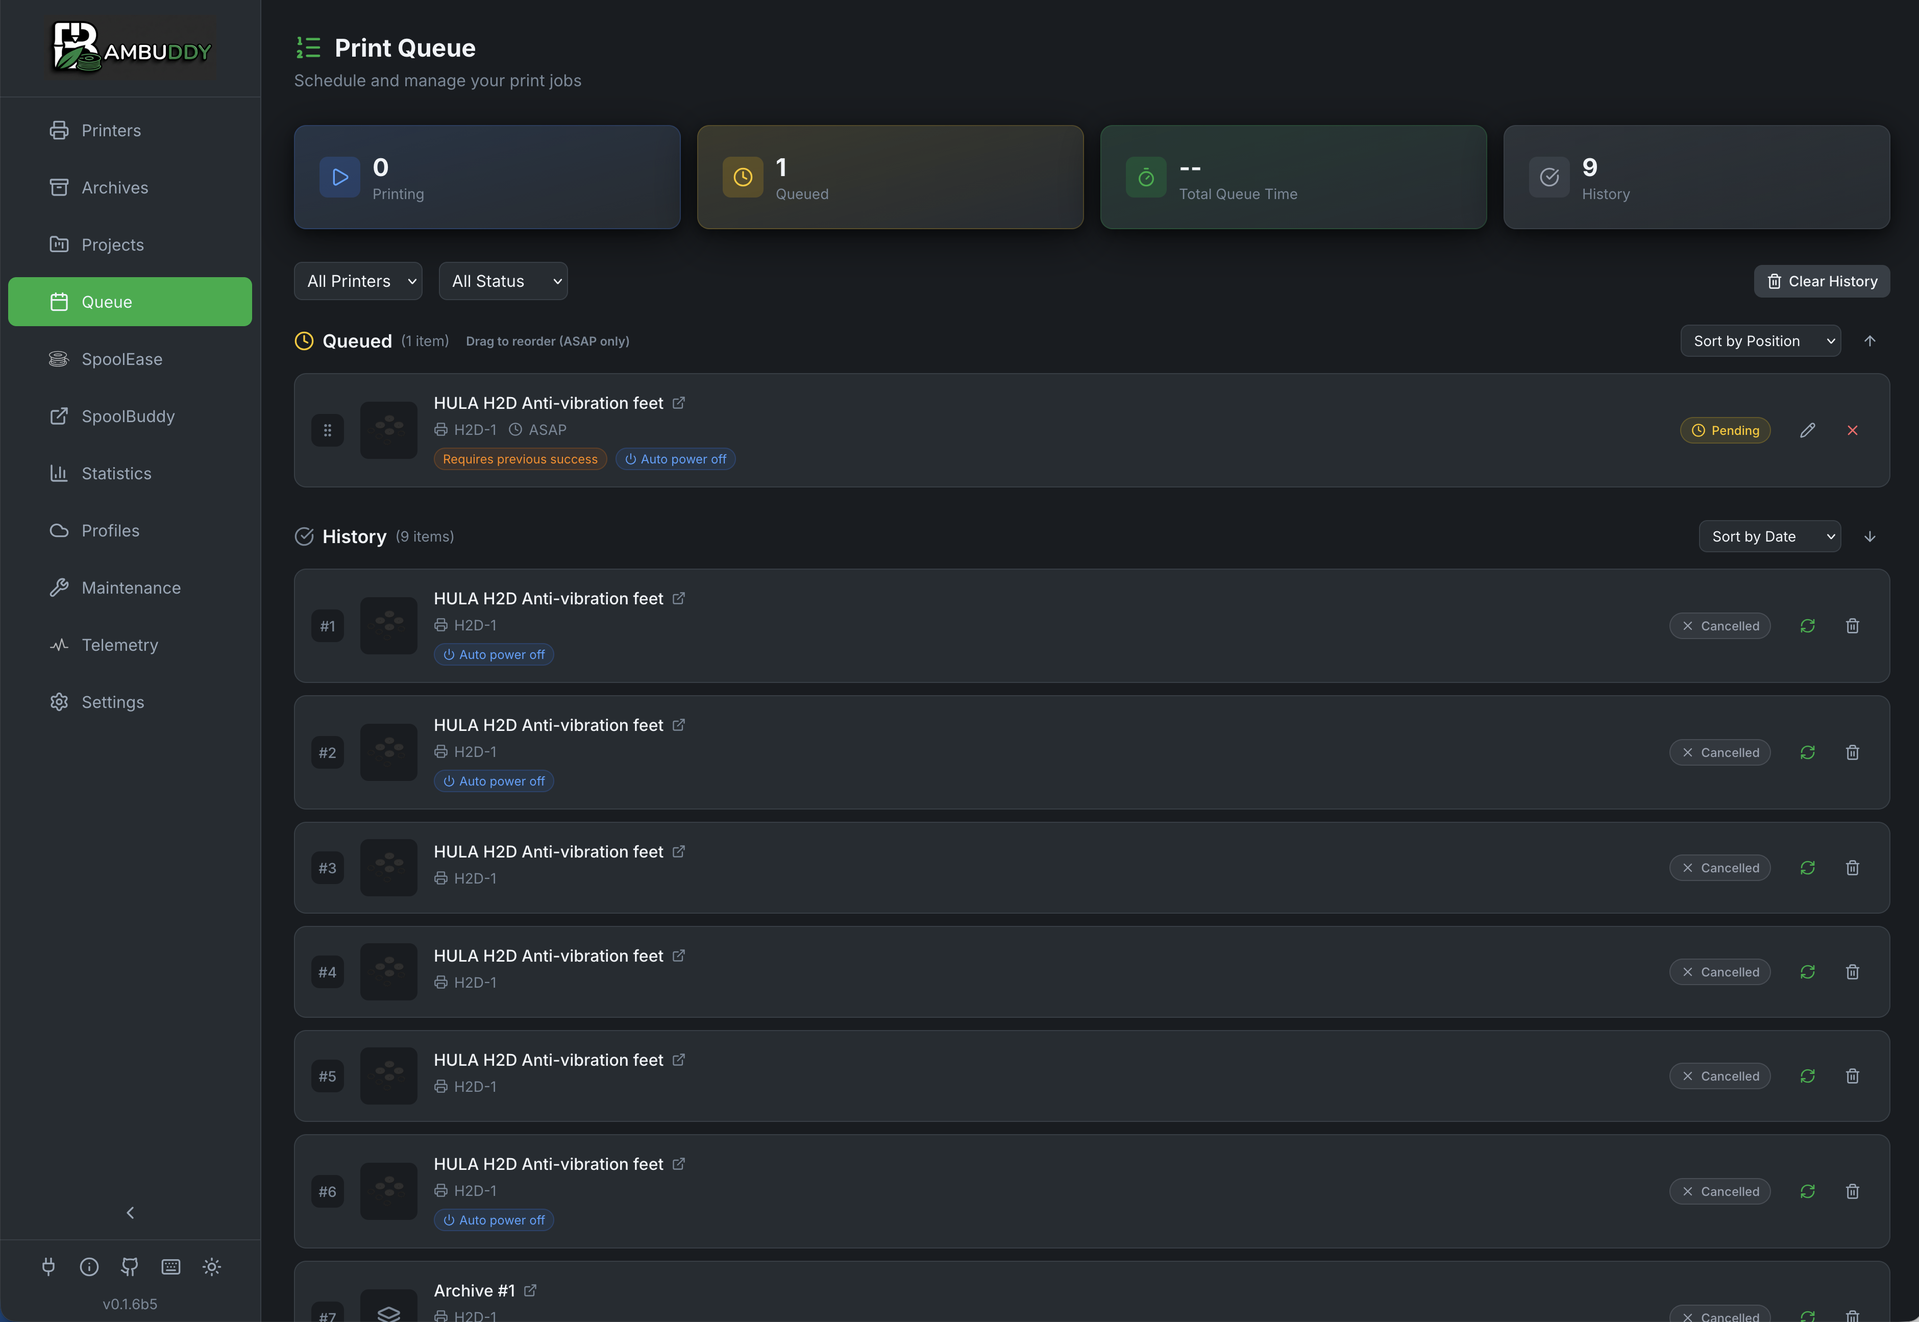
Queue Overview
The print queue lets you:
- Queue prints from your archive
- Order with drag-and-drop
- Schedule specific start times
- Timeline view — production schedule showing estimated completion times
- Automate with smart plug integration
- Track queue progress
SD Card Required
An SD card must be inserted in your printer for the print queue to work. Files are transferred to the printer's SD card when prints start.
Adding to Queue
From Archive
- Go to Archives page
- Click the Schedule button on the archive card (or right-click and select Schedule)
- Choose target printer
- Optionally configure filament mapping (see below)
- Print is added to queue
Quick Access
The Schedule button appears directly on archive cards next to Reprint for sliced files, making it easy to queue prints without using the context menu.
From File Manager
- Go to File Manager page
- Select sliced files (
.gcodeor.gcode.3mf) - Click Add to Queue in toolbar (or right-click context menu)
- Choose target printer (or leave unassigned)
- Files are archived and queued automatically
From Queue Page
- Go to Queue page
- Click Add Print
- Browse and select an archive
- Choose target printer
- Optionally set schedule time
- Optionally configure filament mapping
From Virtual Printer
When a virtual printer is set to Print Queue mode, prints sent from your slicer are automatically archived and added to the queue. The virtual printer's Auto-dispatch setting controls what happens next:
- Enabled (default): Incoming prints start automatically when a printer is available
- Disabled: Prints are added to the queue but require manual dispatch
AMS Filament Mapping
When adding multi-color prints to the queue, you can configure which AMS slot to use for each filament:
- Expand the Filament Mapping section
- View auto-matched filaments (type + color)
- Click any dropdown to manually select a different AMS slot
- Color names shown for easy identification (decoded from Bambu filament codes)
- Mapping is stored with the queued print
Dual-Nozzle Printers (H2D/H2D Pro):
On dual-nozzle printers, filament matching is nozzle-aware. Each filament requirement shows an L or R badge indicating which nozzle it targets. Auto-matching only considers AMS trays connected to the correct nozzle via ams_extruder_map. This prevents sending filament meant for the left nozzle to the right one and vice versa.
Stored Mappings
AMS mappings are saved when you add a print to the queue. When the print starts, Bambuddy uses your configured mapping instead of auto-matching again.
Prefer Lowest Remaining Filament:
When multiple AMS spools match the same type and color, the auto-matcher normally picks the first one by slot order. Enable Prefer lowest remaining filament in Settings → Filament to instead select the spool with the least filament remaining. This helps consume partial spools before starting new ones, avoiding a buildup of nearly-empty rolls.
- Applies to queue scheduling, print modal pre-selection, and multi-printer mapping
- Unknown remain values (e.g. external spools without sensors) are treated as full and sorted last
- The matching priority chain is unchanged (tray_info_idx > exact color > similar color > type-only) — sorting only affects which spool wins within the same tier
- Disabled by default to preserve existing behavior
Plate Selection (Multi-Plate 3MF)
For 3MF files with multiple plates:
- Click Edit on a queued item
- Scroll to Plate Selection section
- Browse plates with thumbnails and print times
- Click to select the plate to print
- Filament requirements update to show selected plate's filaments
Select Multiple Plates
When adding a multi-plate 3MF file to the queue, each plate has a checkbox for multi-select. Click individual plates to toggle them, or use the "Select All / Deselect All" button to quickly select every plate. Each selected plate is added as a separate queue entry (one per plate per selected printer), individually editable after creation. Multi-select is only available in add-to-queue mode — reprint and edit modes remain single-select.
Single Plate per Queue Item
Each queue item prints one plate. To print multiple plates from the same file, select multiple plates when adding to queue, or add the file multiple times and select different plates each time.
Print Options
Configure printer settings for each queued print:
- Click Edit on a queued item
- Expand Print Options section
- Toggle options as needed:
| Option | Description |
|---|---|
| Bed Levelling | Auto-level bed before print |
| Flow Calibration | Calibrate flow before print |
| Vibration Calibration | Reduce vibration artifacts |
| Layer Inspect | Enable AI first layer inspection |
| Timelapse | Record timelapse video |
| Use AMS | Use AMS system for filament |
Default Settings
Default values match typical printing needs. Adjust only if your print requires specific settings.
Drag and Drop Ordering
Reorder prints in the queue:
- Hover over a queued print
- Grab the drag handle
- Drag to new position
- Release to reorder
Prints execute in order from top to bottom.
Scheduling
Immediate Prints
Add to queue without a schedule - prints start when:
- Printer is idle
- Previous prints complete
- No scheduled prints are pending
Scheduled Prints
Set a specific start time:
- Click Schedule on queued print
- Choose date and time
- Print starts at scheduled time
Schedule Priority
Scheduled prints take priority:
- Check for scheduled prints at scheduled time
- If none, check immediate queue
- Start next print
Queue Only (Staged Prints)
Stage prints without automatic scheduling:
- When adding to queue, select Queue Only
- Print shows with purple Staged badge
- Print won't start automatically
- Click Play button to release to queue
Use Queue Only to:
- Prepare print batches before activating
- Stage prints across multiple printers
- Review and approve before printing starts
- Build a queue without immediate execution
Batch Workflow
Add multiple prints with Queue Only, review the order, then release them one by one or all at once.
Smart Plug Automation
Combine with smart plugs for full automation:
Auto Power On
When a queued print is ready:
- Bambuddy checks if printer is on
- If off and smart plug configured, powers on
- Waits for printer to boot
- Starts the print
Auto Power Off
After print completes:
- Print completes
- Cooldown period (configurable)
- Check if more prints queued
- If no more prints, power off
Configuration
- Go to Settings > Smart Plugs
- Configure plug for printer
- Enable Auto Power On and Auto Power Off
- Set cooldown temperature and time
Queue Status
Print States
| State | Icon | Description |
|---|---|---|
| Queued | Waiting in queue | |
| Scheduled | Waiting for scheduled time | |
| Starting | Sending to printer | |
| Printing | Currently printing | |
| Completed | Successfully finished | |
| Failed | Print failed | |
| Cancelled | Manually removed |
Queue Card
Each queued print shows:
- Thumbnail (shows the selected plate's thumbnail for multi-plate files)
- Print name
- Target printer
- Estimated duration
- Scheduled time (if set)
- Status
- Added by (username who queued the print, when authentication is enabled)
Timeline View
Switch between List and Timeline views using the toggle buttons above the queue content. The timeline view shows a production schedule — a chronological feed of when each print is estimated to finish.
Schedule Feed
Events are grouped by hour with time markers. Each card shows:
- File name and thumbnail
- Printer name assigned to the print
- Estimated completion time (e.g., "14:30")
- Time remaining (e.g., "2h 15m left")
- Progress bar for actively printing items
Filters
Use the filter tabs to show:
- Show All — both printing and queued events
- Printing — only currently active prints
- Queued — only pending queue items
Day Navigation
Navigate between days with the arrow buttons or click Today to jump back. The estimated completion line at the top shows when all prints across all printers will be done.
Interactions
- Click a queued item to edit it
- Click an active print to stop it
- Click a completed/failed item to re-queue it
ETA Chaining
Pending items are chained after the currently active print on each printer. If Printer 1 finishes at 14:00 and has two queued items of 1h each, they'll show at 15:00 and 16:00 respectively. Scheduled items respect their set time and may create gaps.
Managing Queue
Remove from Queue
- Click the X on any queued print
- Confirm removal
- Print is removed (not deleted from archive)
Cancel Running Print
- Find the currently printing item
- Click Cancel
- Print stops on printer
- Marked as cancelled in queue
Clear Plate Confirmation
When a print finishes or fails and more items are queued for the same printer, the next print does not start automatically. Instead, the printer card shows a "Clear Plate & Start Next" button.
- Remove the finished print from the build plate
- Click Clear Plate & Start Next on the printer card
- The scheduler starts the next queued print within 30 seconds
This prevents prints from starting on a dirty plate. The button appears whenever the printer is in Finished or Failed state with pending queue items.
Disabling Plate-Clear Confirmation
If you want the scheduler to start the next queued print automatically without waiting for manual plate-clear confirmation:
- Go to Settings → Queue
- Disable Require plate-clear confirmation
- The scheduler will now start queued prints automatically on printers with finished or failed jobs
This is useful for print farms or workflows where you trust the plate is cleared between prints (e.g., with auto-eject or flexible build plates). The default is enabled, preserving the existing behavior of requiring manual confirmation.
Use With Caution
Disabling plate-clear confirmation means prints may start on a plate with a previous print still attached. Only disable this if you have a workflow that ensures the plate is cleared between prints.
Permission Required
The Clear Plate button requires the Printers Control permission when authentication is enabled.
Clear Queue
Remove all queued prints:
- Click Clear Queue button
- Confirm action
- All pending prints removed
Running Print Not Affected
Clear Queue only removes pending prints, not the currently active print.
Bulk Editing
Edit multiple queued items at once:
Selecting Items
- Look for checkboxes on pending queue items
- Click checkbox to select/deselect individual items
- Use Select All / Deselect All in the toolbar
Bulk Edit Modal
When items are selected, click Edit Selected to open the bulk edit modal:
| Setting | Description |
|---|---|
| Printer | Reassign all selected items to a different printer |
| Staged | Toggle manual start (Queue Only) mode |
| Auto power off | Toggle auto power off after print |
| Require previous success | Toggle conditional execution |
| Bed levelling | Toggle bed levelling |
| Flow calibration | Toggle flow calibration |
| Vibration calibration | Toggle vibration calibration |
| First layer inspection | Toggle AI inspection |
| Timelapse | Toggle timelapse recording |
| Use AMS | Toggle AMS usage |
Tri-State Toggles
Each setting has three states:
| State | Symbol | Meaning |
|---|---|---|
| Unchanged | — | Don't modify this setting |
| Off | Off | Set to disabled on all selected items |
| On | On | Set to enabled on all selected items |
Only settings you explicitly change are applied - other settings remain as they were.
Bulk Cancel
Click Cancel Selected to cancel all selected pending items at once.
Quick Reassignment
Use bulk edit to quickly reassign multiple prints to a different printer when one becomes unavailable.
Multi-Printer Queue
Queue prints across multiple printers:
Per-Printer Queues
Each printer has its own queue:
- Filter by printer to see specific queue
- Prints wait for their assigned printer
- Different printers can print simultaneously
Multi-Printer Selection
Send the same print to multiple printers at once:
- Open Add to Queue or Re-print modal
- Select multiple printers using checkboxes
- Use Select all / Clear buttons for quick selection
- Configure filament mapping (default applies to all printers, or use per-printer mapping)
- Click submit to send to all printers
Print Farms
Multi-printer selection is ideal for print farms. Use the default mapping for printers with identical filament configurations, or enable per-printer mapping for mixed setups.
Staggered Batch Start
When sending a print to multiple printers, you can stagger the starts to avoid power spikes from simultaneous bed heating — especially useful for larger farms (10+ printers).
Staggering is available in both the Print dialog (direct print / reprint) and the Add to Queue / Schedule dialog whenever multiple printers are selected.
- Select multiple printers in the Print or Add to Queue dialog
- A Stagger printer starts checkbox appears automatically when multiple printers are selected
- Enable the checkbox, then set the Group size (how many printers start at once) and Interval (minutes between groups)
- A preview shows the schedule: e.g., "6 printers → 3 groups of 2, starting every 5 min (total: 10 min)"
- Submit — the first group starts immediately (ASAP) or at the scheduled time, subsequent groups start at computed intervals
| Setting | Description | Default |
|---|---|---|
| Group size | Number of printers to start simultaneously | 2 |
| Interval | Minutes between each group starting | 5 min |
Default values can be configured in Settings → Queue → Staggered Start and overridden per batch in the Print or Schedule dialog.
How It Works
Staggering is implemented using the existing scheduled_time field on queue items. The first group has no scheduled time (starts immediately), while subsequent groups get computed future timestamps. No new scheduler logic is needed — the existing scheduler naturally skips items whose scheduled time hasn't arrived yet. When used from the Print dialog, the selected prints are automatically queued with staggered start times rather than dispatched immediately.
Power Management
Combine staggered starts with smart plug auto-off for full power management: stagger prevents peak draw at start, auto-off cuts idle power at finish.
Per-Printer AMS Mapping
When multiple printers are selected, you can configure filament slot mapping individually for each printer:
- Select multiple printers
- Under each printer, check Custom mapping to enable per-printer configuration
- The mapping section expands showing:
- Required filaments with color indicators
- Dropdown to select AMS slot for each requirement
- Match status: exact, type-only, missing
- Click Auto to auto-configure using RFID data
- Click Re-read to refresh the printer's loaded filaments
| Control | Description |
|---|---|
| Custom mapping checkbox | Enable per-printer slot configuration |
| Auto button | Auto-match filaments using RFID data |
| Re-read button | Refresh loaded filaments from printer |
| Match indicator | Shows (X/Y matched) status |
Default Expanded
Go to Settings → Filament and enable Expand custom mapping by default to automatically expand per-printer mapping for all printers when multi-selecting.
Auto-Configure
The Auto button reads RFID data from loaded spools and matches them to required filaments by type and color. It prioritizes exact matches, then similar colors, then type-only matches.
Choosing a Printer
When adding to queue:
- Select one or more target printers
- Prints join each printer's queue
- Different archives can go to different printers
Load Balancing
Manually distribute prints:
- Add long prints to less-used printers
- Queue time-sensitive prints on fastest printer
- Keep specific materials on specific printers
- Use multi-printer selection for batch production
Model-Based Queue Assignment
Queue prints to "any printer of matching model" for automatic load balancing across identical printers.
How It Works
- When you add a print to the queue, select Any [Model] instead of a specific printer
- Optionally select a Location to further filter available printers (e.g., "Any X1C in Workshop")
- Bambuddy extracts the printer model from the sliced 3MF file (e.g., "X1C", "P1S")
- The scheduler automatically assigns the print to the first idle printer of that model (and location, if specified)
- If filament validation is enabled, it only assigns to printers with the required filaments loaded
Adding Model-Based Queue Items
- Open Add to Queue modal
- In the printer selection, choose Any X1C, Any P1S, etc.
- Optionally select a Location from the dropdown to filter by printer location
- Configure other options as usual
- Submit - the print joins the queue without a specific printer
Location Filtering
When you have multiple printers of the same model in different locations:
- Choose Any [Model] for the printer
- Select a Location from the dropdown (shows all locations from your printers)
- The scheduler only considers printers at that location
- Queue items show the target location (e.g., "Any X1C - Workshop")
Filtering Queue by Location
On the Queue page, use the Location dropdown filter to view only jobs for a specific location.
Filament Validation
When a model-based queue item has required filaments:
- Scheduler checks each printer of the matching model
- Only printers with all required filament types loaded (in AMS or external spool) are considered
- Jobs wait until a compatible printer becomes available
- The Waiting status (purple badge) shows why a job is waiting
Filament Override
When using model-based assignment, you can override the filament colors and types from the original 3MF file:
- Select Any [Model] for the printer
- The Filament Override section appears showing each filament slot from the sliced file
- For each slot, a dropdown shows all compatible filaments loaded across printers of the selected model
- Select an override to change the color or type for that slot
- Click the reset button to revert to the original 3MF value
The scheduler uses the overridden values when matching filaments:
- Color preference: Printers with exact color matches for your overrides are preferred
- Type filtering: Only filaments of the same type are shown in the dropdown (e.g., PLA slots only show PLA)
- Nozzle-aware: On dual-nozzle printers (H2D), only filaments on the correct extruder are shown
Use Case
You sliced a model in black PLA but want to print it in white PLA instead. Rather than re-slicing, override the filament color in the queue and the scheduler will find a printer with white PLA loaded.
Waiting Status
Model-based queue items show detailed status:
| Status | Description |
|---|---|
| Pending | Ready to start, waiting for idle printer |
| Waiting | Blocked - shows reason (e.g., "Waiting for filament: Printer1 (needs PLA)") |
| Printing | Assigned to printer and running |
The waiting reason tells you exactly what's needed:
- Waiting for filament: Which printers are missing which filament types
- Busy: Which printers are currently printing
- Offline: Which printers are disconnected
Compatibility Warnings
When queuing to a specific printer that doesn't match the sliced model:
- A warning shows "File was sliced for X1C, but printing on P1S"
- This helps avoid issues from mismatched print profiles
Print Farm Load Balancing
Model-based assignment is ideal for print farms with multiple identical printers. Queue prints to "Any X1C" and let Bambuddy distribute work automatically.
Queue Notifications
Get notified about queue events. Configure these in Settings → Notifications under "Print Queue":
| Event | Default | Description |
|---|---|---|
| Job Added | Off | Job added to queue |
| Job Assigned | Off | Model-based job assigned to a printer |
| Job Started | Off | Queue job started printing |
| Job Waiting | On | Job waiting for filament (actionable) |
| Job Skipped | On | Job skipped due to previous print failure |
| Job Failed | On | Job failed to start (upload error, etc.) |
| Queue Complete | Off | All queued jobs finished |
Actionable Notifications
The most important notifications (Waiting, Skipped, Failed) are enabled by default because they require user action. Enable others based on your monitoring needs.
Queue History
View past queue activity:
- Completed prints
- Failed prints
- Cancelled prints
- Execution times
History helps you:
- Track throughput
- Identify patterns
- Debug issues
API Access
Manage queue programmatically:
# Add to queue
POST /api/v1/queue

# Get queue status
GET /api/v1/queue

# Remove from queue
DELETE /api/v1/queue/{id}
See API Reference for details.
Background Print Dispatch
When you start a print — whether from an archive (Reprint), the file manager, or the print queue — the FTP upload and print-start command run in the background. The UI responds immediately and you can continue browsing while the file transfers.
Progress Tracking
A persistent toast notification shows real-time dispatch progress:
- Upload progress bar for each active job
- Status badges: Dispatched → Processing → Completed / Failed / Cancelled
- Cancel button to abort an in-progress upload (cleans up partial files on the printer)
- Batch progress (e.g., "⅔ complete") when dispatching to multiple printers
How It Works
- You click Print or Reprint — the API returns immediately with a dispatch job ID
- The background dispatcher picks up the job and starts the FTP upload
- Progress updates stream to all connected clients via WebSocket
- After upload completes, the dispatcher sends the print-start command to the printer
- If you cancel mid-upload, the partial file is deleted from the printer's SD card
Per-Printer Queuing
Each printer can only have one active dispatch at a time. If you send a second print to the same printer, it waits until the first completes. Different printers run concurrently.
Tips
Overnight Prints
Schedule longer prints to start overnight - wake up to finished prints!
Smart Plug Combo
Combine scheduling with auto power-off for hands-free operation.
Queue Batch Jobs
Queue multiple small prints for efficient batch production.
Priority Management
Move urgent prints to the top of the queue with drag-and-drop.
Estimated Times
Check estimated durations when scheduling to avoid printer conflicts.
Auto-Drying Between Prints
Enable queue auto-drying to automatically dry filament during idle gaps between scheduled prints. For printers without scheduled prints, ambient drying keeps filament dry on any idle printer automatically.